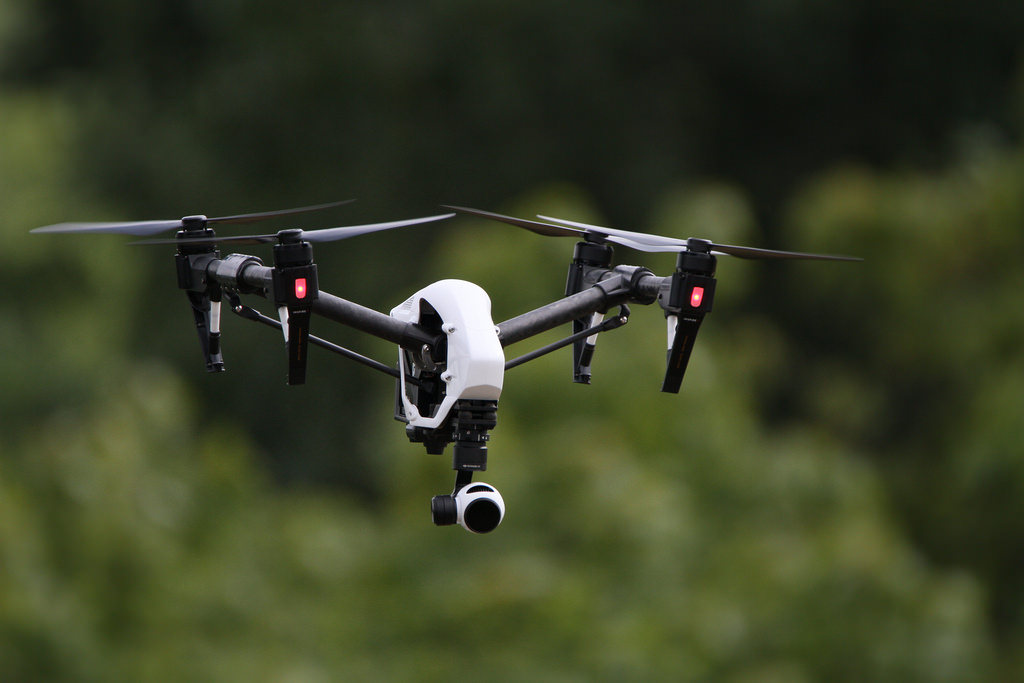
If you are looking to build a drone, you will quickly find yourself looking at aviation basics such as mechanics, propulsion, frame setups and so on.
CBR helps you to build a small quadcopter.
1. What to go for
Before going out there buying the pieces for your drone, you need to do as much research as possible and decide on important things such as the frame and size of the overall gadget.
When it comes to multi-rotors, for example, there are many different options available in the market. There are quadcopter frames, tricopter, hexacopter and octocopter.
Quadcpoter frame setups are usually the one to go for as most flight controllers are ready to operate such system.
For the main frame of the drone, you will need a steady material. This can be a printed circuit board (PCB) (apart from smaller drones, this board is simple to be used as a frame due to its solid characteristics), carbon fiber, plastic, wood, or aluminium. The side of the frame will depend on how big you want the device to be.
Next up you will have to look at the propellers. These can be made of different materials (like plastic, carbon fiber, wood, etc) and there are two types: Clockwise (CW) propellers and counter clockwise (CCW) propellers.
Batteries, flight controllers, electronic speed controllers, and so on, are other areas you will need to be looking at.
Click next to see the shopping list.
2. The shopping list
Having gone over the basics, it is now time to get your parts. Based on point one, the shopping list we are going to go for includes:
-1 quadcopter frame
-4 small brushless motors + mounting plates
-1 power line board
-1 power distribution board
-2 CW propellers
-2 CCW propellers
-1 flight controller
-4 electronic speed controllers
-1 Lithium Polymer (Li-Po) battery
-1 flight controller
-Solder wire
-Small screws
-1 GoPro camera + zip ties (optional)
Click next to learn how to put it all together.

3. Putting it together
First, you will have to attach the arms to the main body of the quadcopter frame if these are not already attached. You can do this by using small screws. Then, you will have to attach the motor’s mounting plates to the end of each arm, again using small screws.
Once the mounting plates are in place you can mount the brushless motors onto each end of the arm.
Next up is the power distribution board. This one will be place right at the centre of the drone (the device must be upside down for this).
The next step involves installing the electronic speed controllers. These are meant to be attached on to the drone while still upside down, each one of them at the beginning of each arm.
Once that is done, you will have to do the wiring and connect the controllers’ wires to the power distribution board. You will need a solder to solder the wires to the board.
By now you will have the basic drone in place. You can now wire the brushless motors to the speed controllers. You can also install the Li-Po battery onto the drone.
Following the flight controller’s own instructions, you can attach its own piece of hardware to the drone’s power board so you are able to control each of the motors.
Depending on the flight controller, you might have to use its software to make sure the motors are controlled correctly.
Once that stage is all done, the hardest part of building the drone is over. You can attach the propellers to each motor, with one CW and CCW intercalating between themselves (so you get the stability to fly the drone).
Lastly, if you want your drone to take pictures and record videos, you can attach a GoPro (or any other camera) to the device. An easy way to do this is by using zip ties. 


